Fly Tying Steps for the Redfish Popping Shrimp
This Texas shrimp pattern is inspired by several flies and I bet you can name a few that are similar. It is easy to admit that I am not a hermit, therefore in my 20 years of fly fishing and fly tying experience, I have laid my eyes upon thousands and thousands of fly patterns. I don’t particularly consider any fly tied to be original, although if the hook is the canvas, and materials are the paint, and having applied it in any number of ways, then each fly is a work of art and unique in its own right.
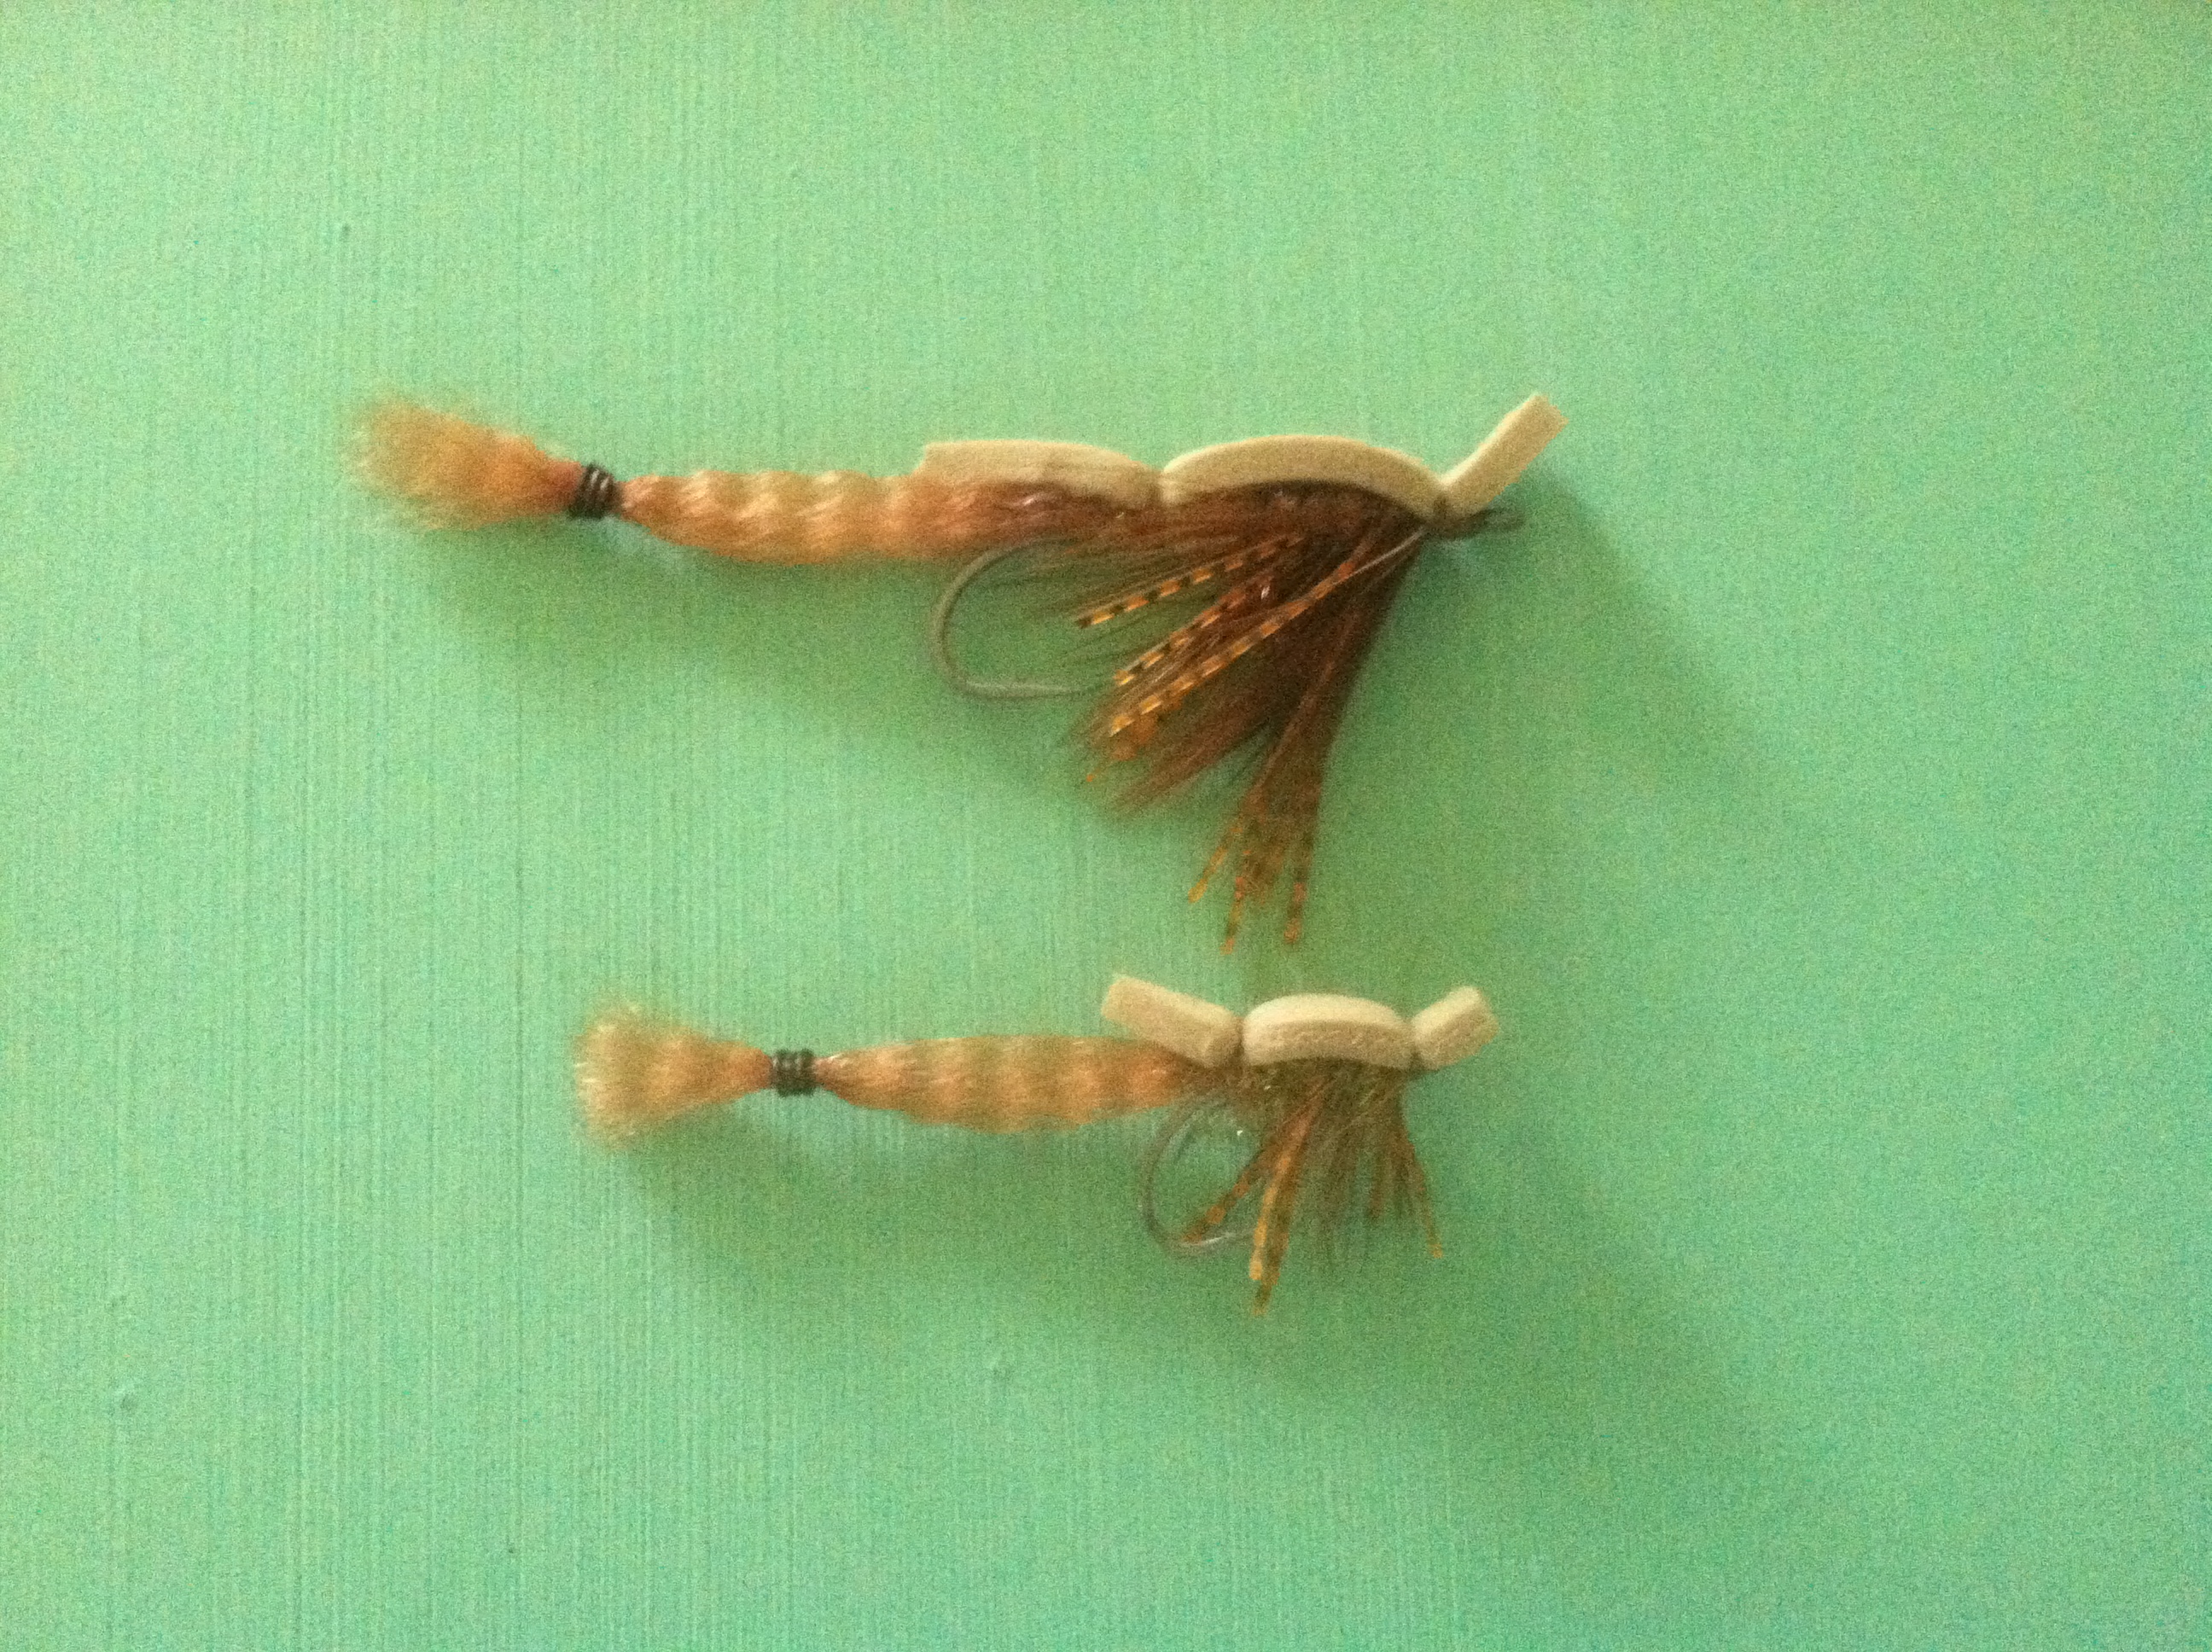
Texas Poppin Shrimp Fly
What initiated the development of this pattern you ask? I was stalking fish on a nearby flat late one evening and loosing sunlight fast and worried out of my mind that the numerous stingrays that I had previously passed on the way out were lying in wait for my dark and sightless return. Then, suddenly a school of broad shouldered fish began chasing bait completely out of the water and pushing wakes that traveled for 50 yards across the flat. I moved closer and determined that small grass shrimp were on the menu. Problem was that these shrimp were buried in loose and deep piles of widgeon grass which was beginning to float to the surface the more the fish worked the shrimp.Needless to say many flies were thrown at these fish drawing only one strike which failed to hook the fish.
From this experience, I wanted to develop a topwater shrimp pattern that doesn’t require a weedguard but is weedless. So I decided to use the bushy hackle and rubber legs combination, tied a little long which seem to suffice when pulling over the subtle widgeon grass and other floating debris. The tail of the fly is what intrigues me, it has some attractive facets that I cant wrap my mind around, but the fish LOVE it when tied with this material and secured in this manner. Many thanks to my comrade Austin for letting me toy with the method. One could have used many different threads/wires for this technique but I like the copper wire because it causes the tail to hang at a slight downward angle. I hope that you find the tying steps below useful, feel free to contact me with any questions you may have. -Capt Ken (ken@kenjofly.com)
Step 1: Apply thread base to Gamakatsu SC15 sz 2

Fly Tying Step 1 – Thread Base
Step 2: Take 20-30 strands of superhair, fold and cut in half. Keep halves separate, as each half length will tie 1 fly. Tie onto hook as shown in picture.
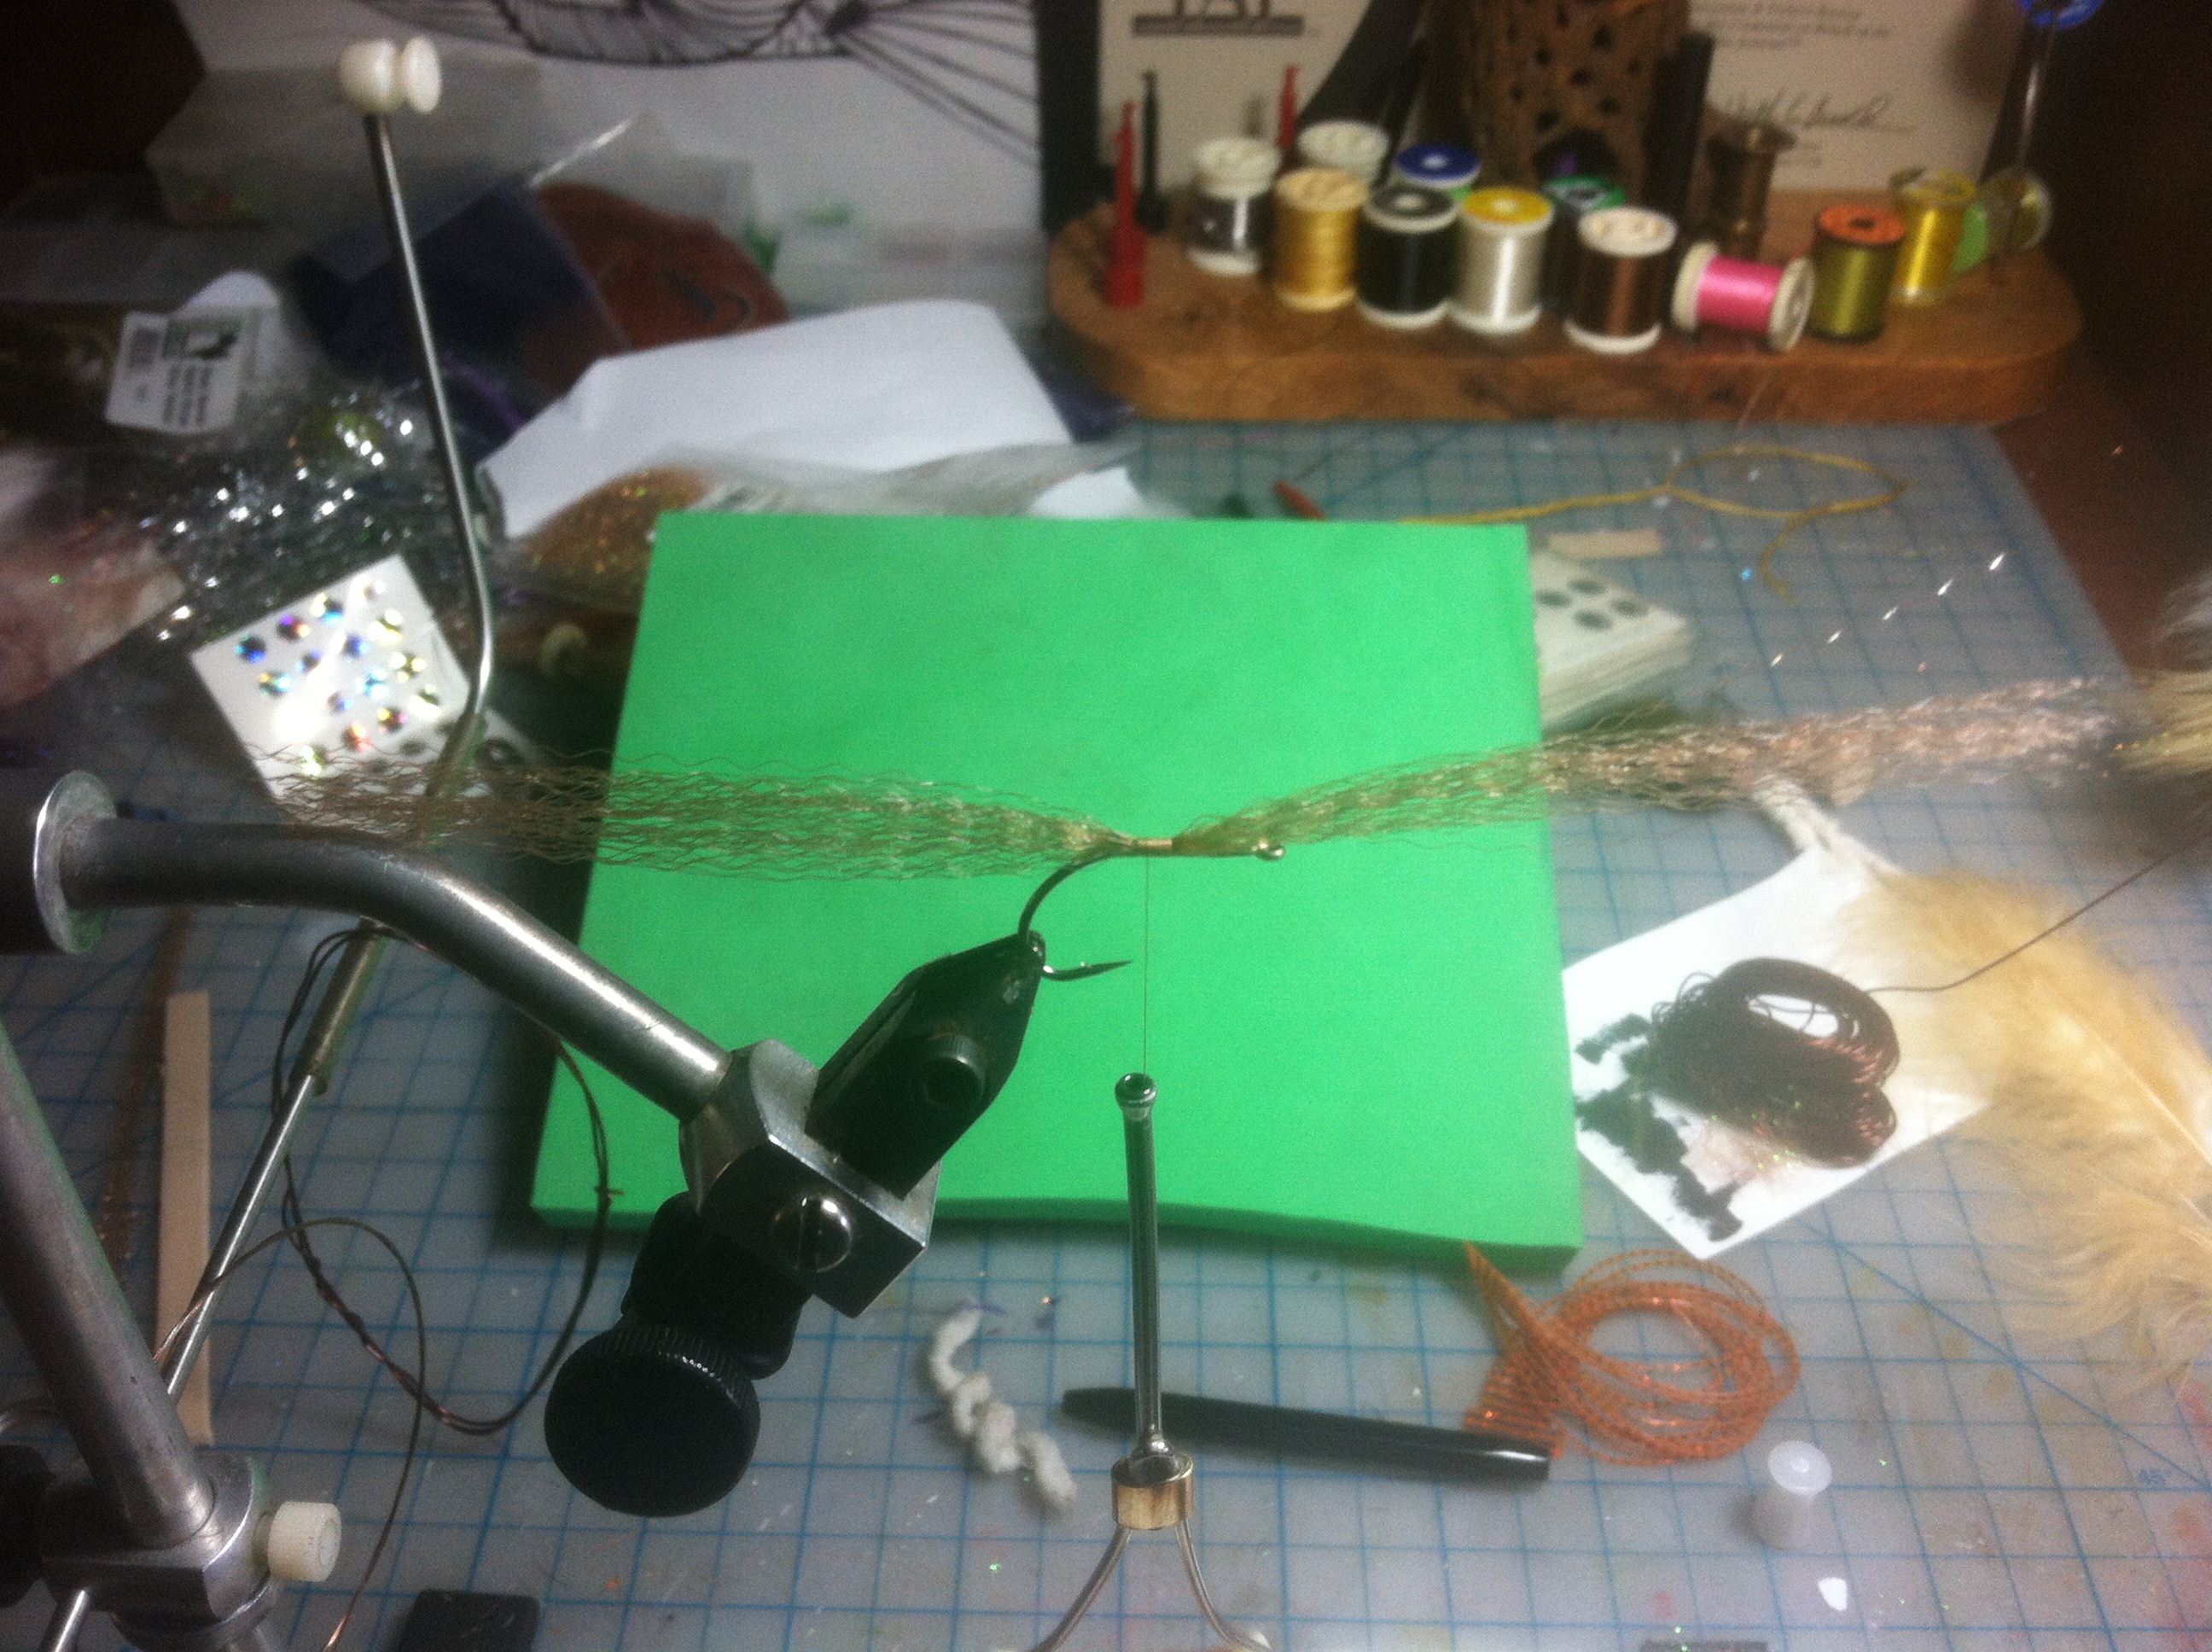
Fly Tying Step 2 – Brown Super Hair
Step 3: Fold superhair back and secure
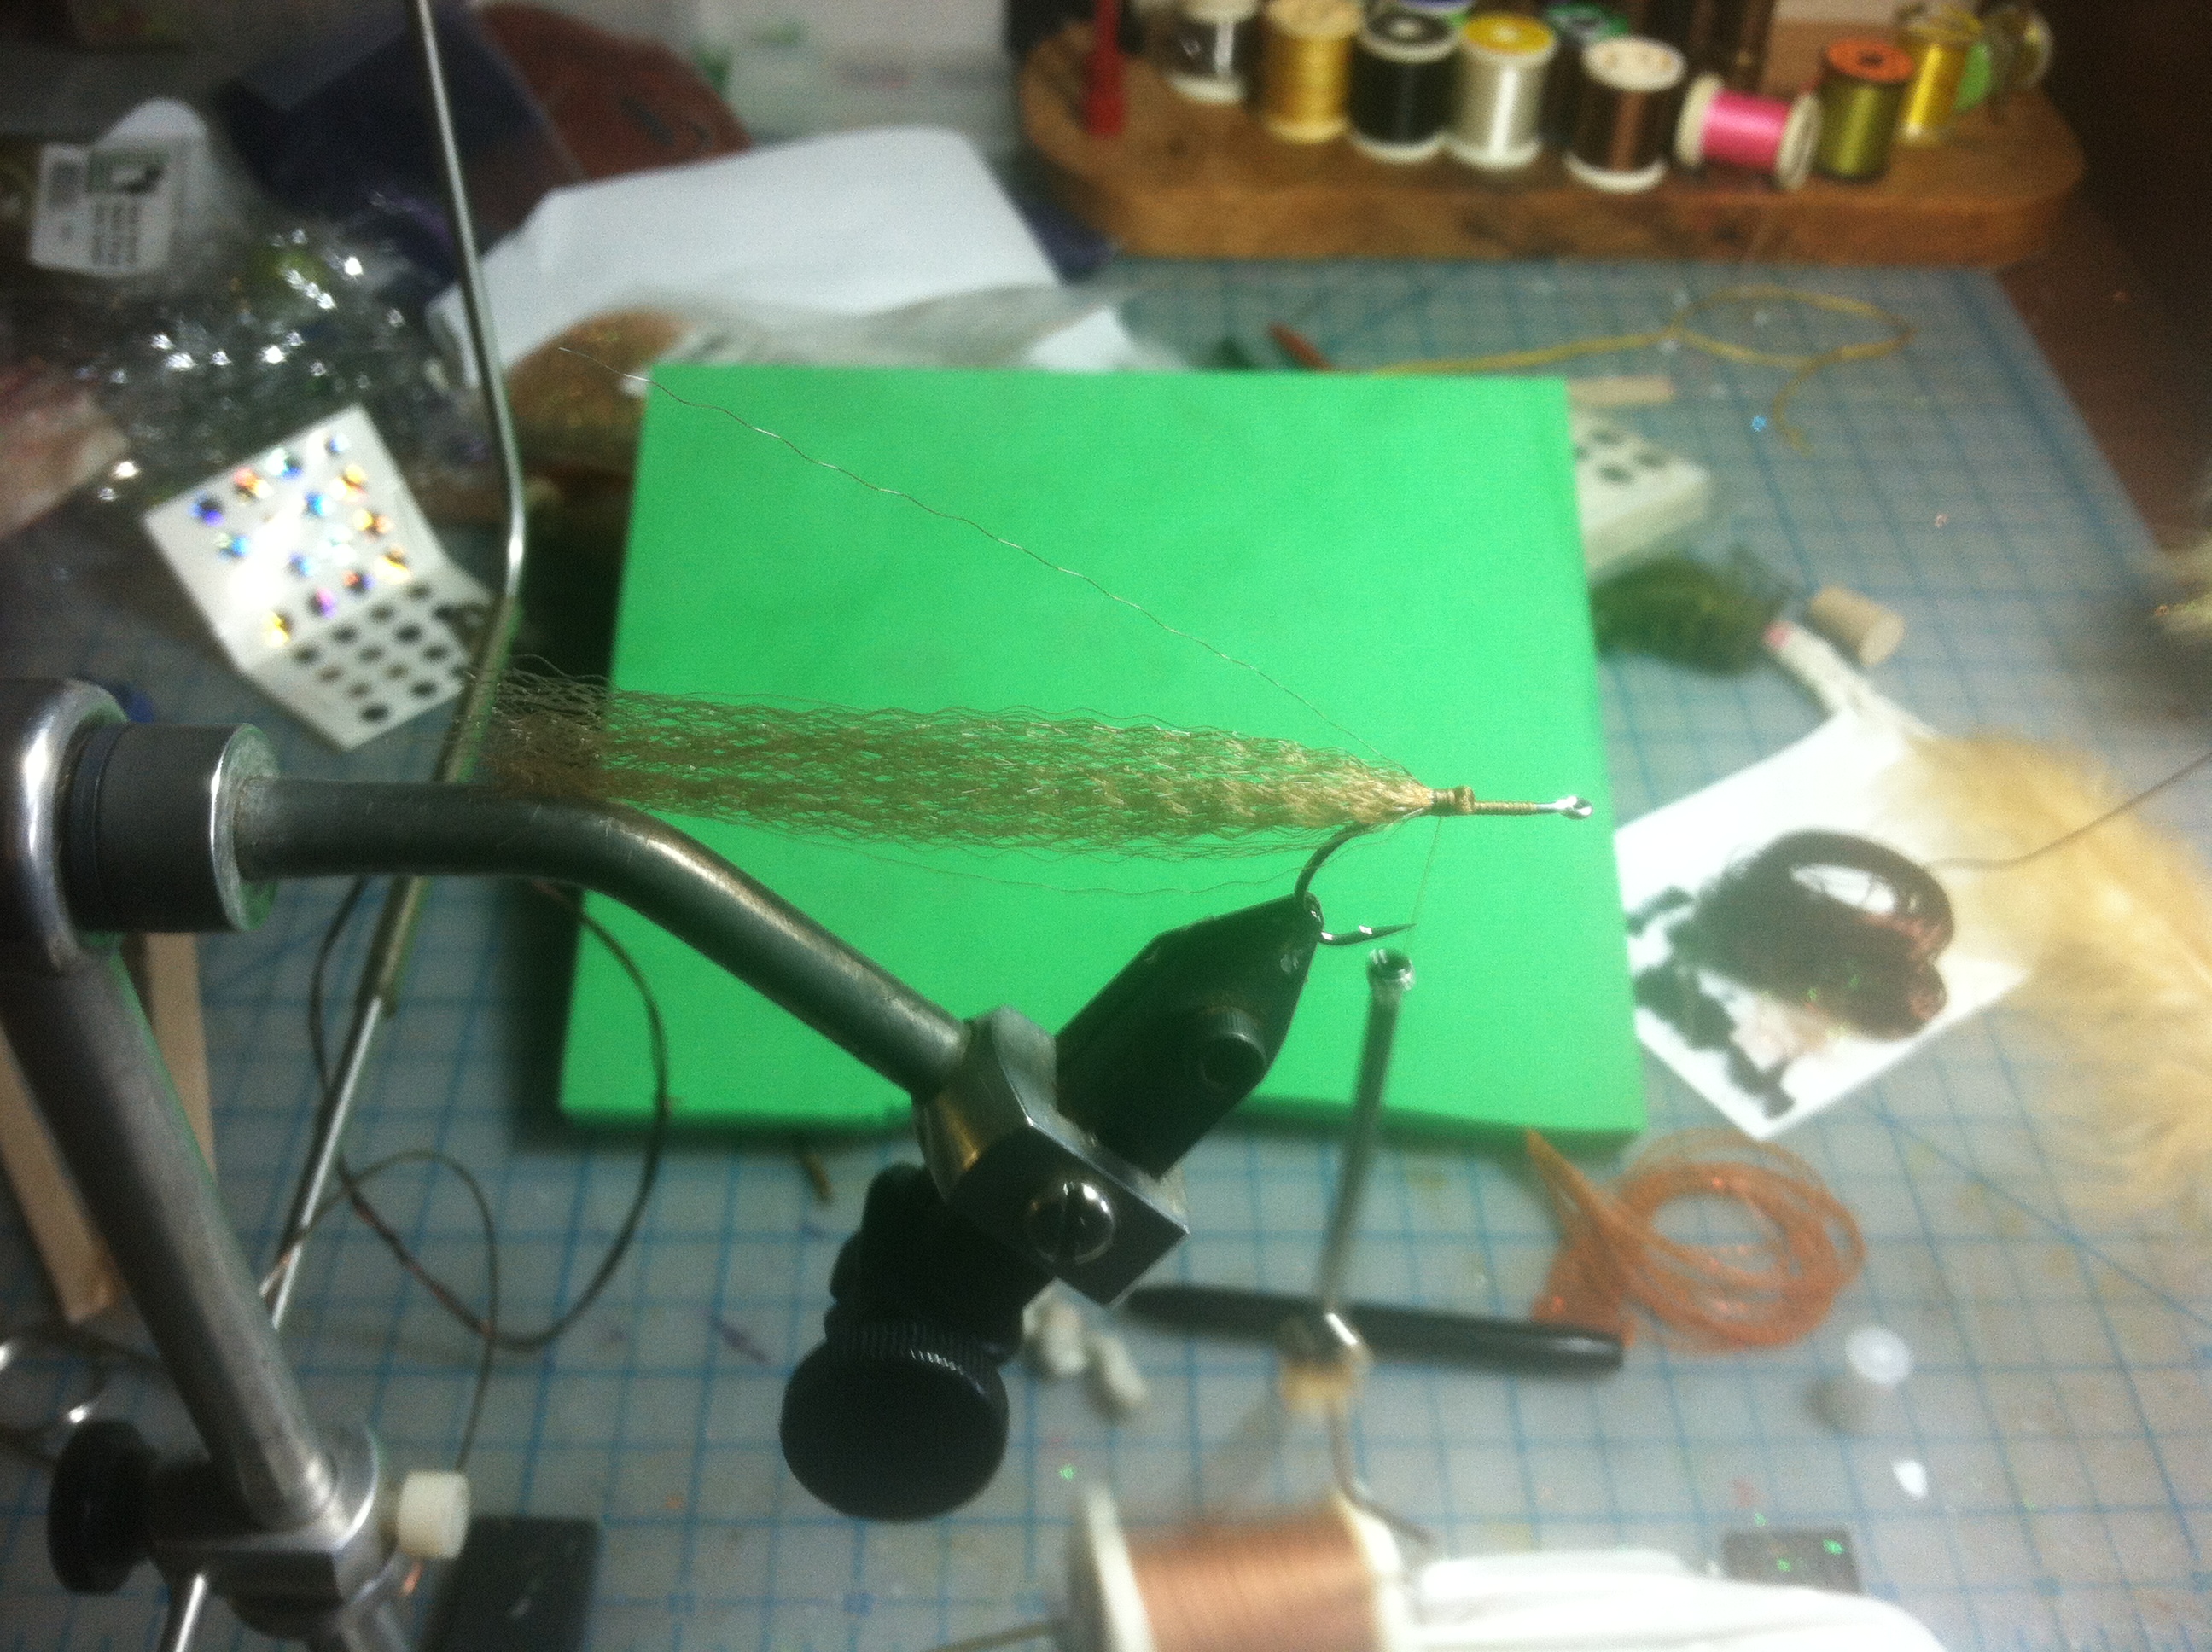
Fly Tying Step 3 – Fold back super hair
Step 4: Apply small amount of dubbing to cover thread wraps securing the superhair.
Fly Tying Step 4 – add golden brown dubbing
Step 5: Tie in hackle by the tip. Be sure that hackle fibers are 1-2 times the length of the hook gap.
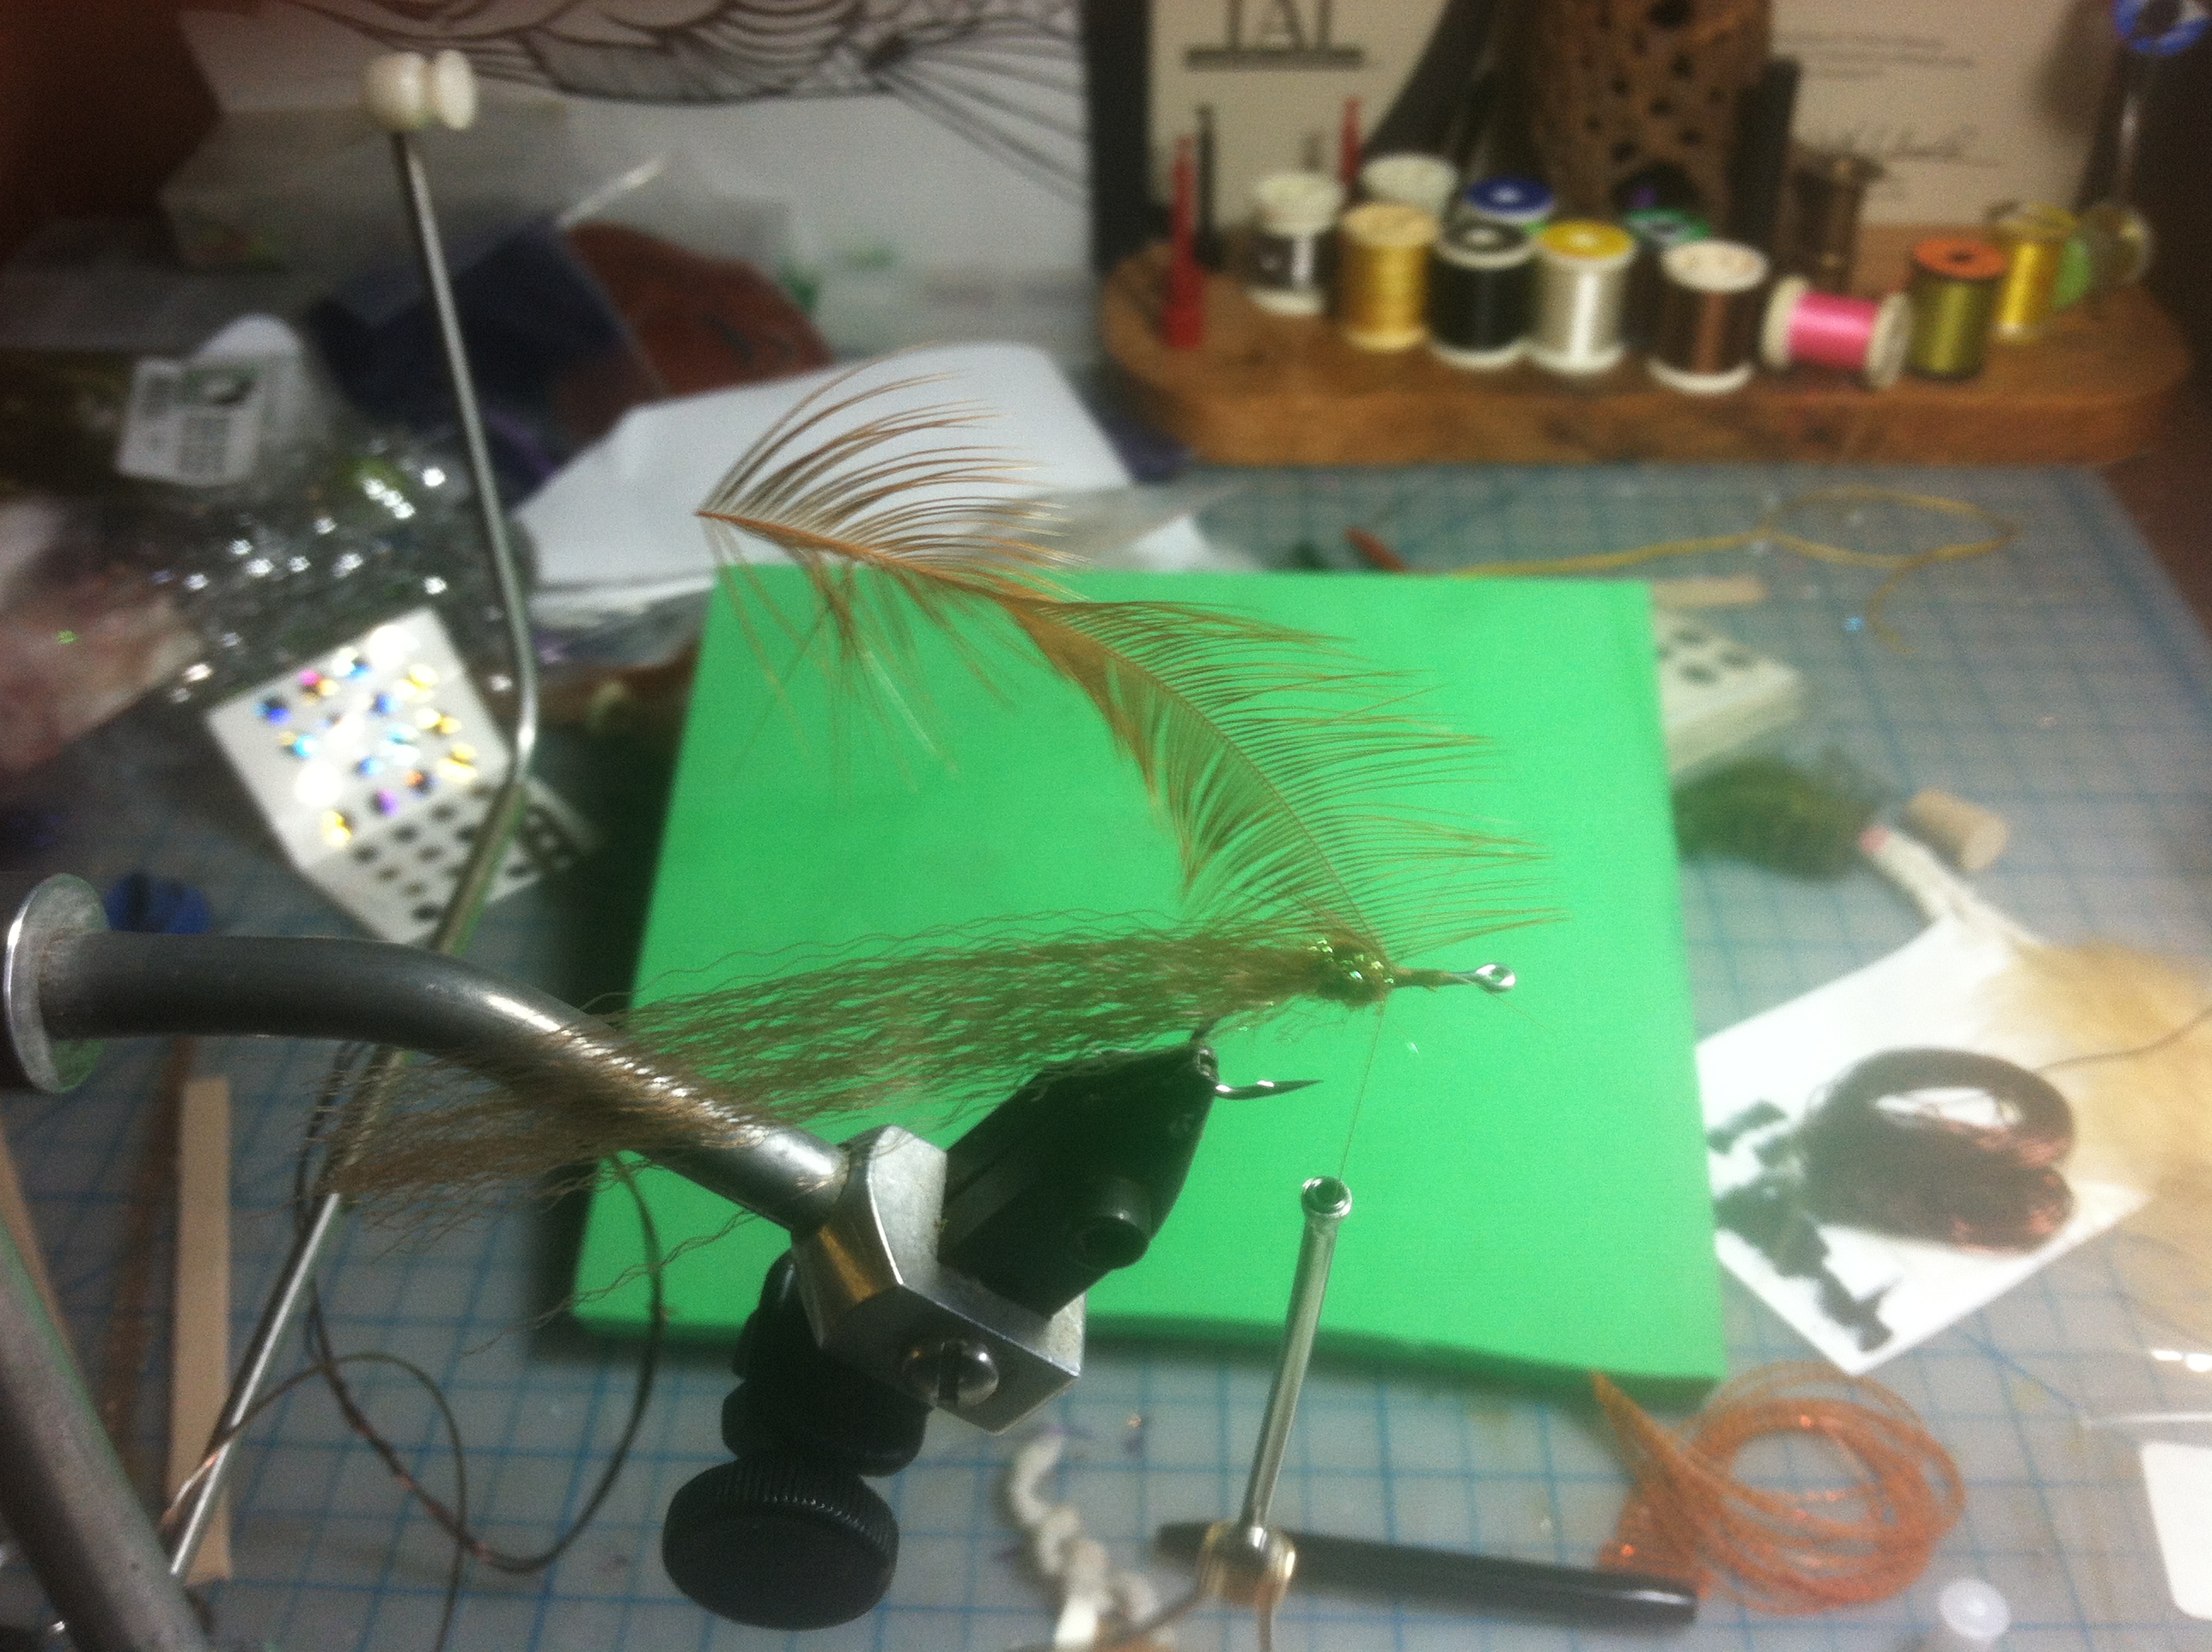
Fly Tying Step 5 – add hackle tie in at tip
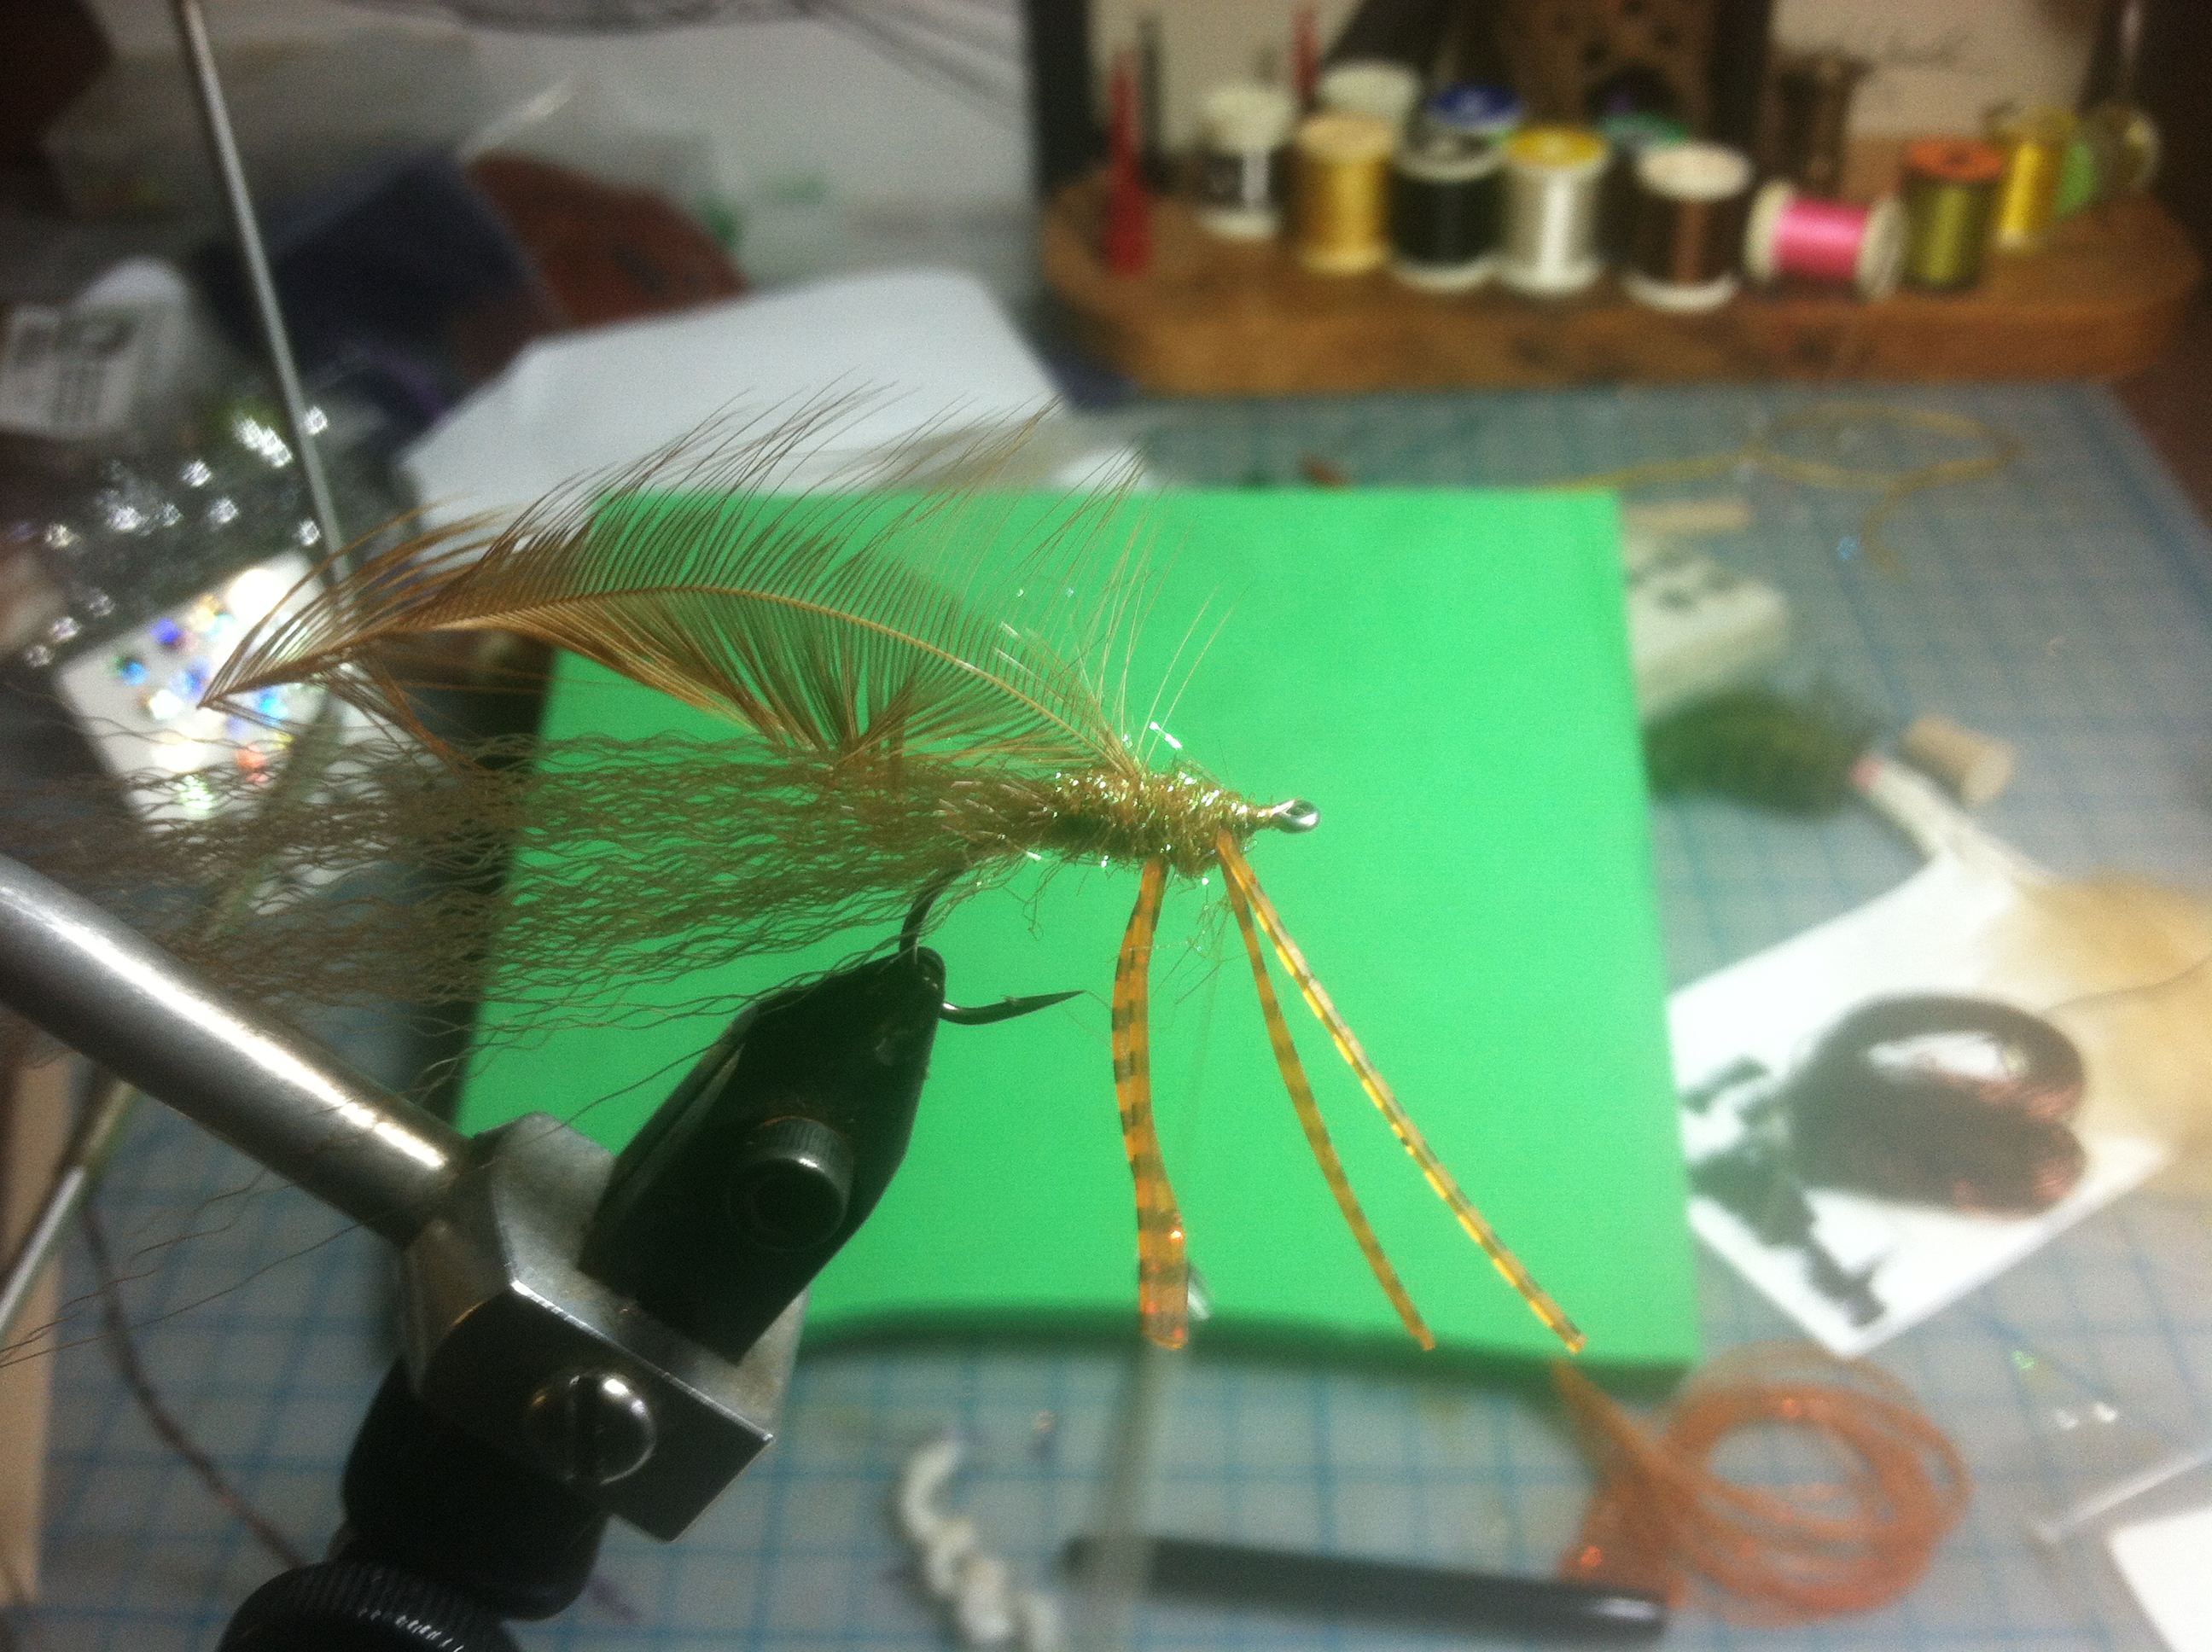
Step 6: Take 3 strands of rubber legs and tie in middle facing forward and back on bottom of the shank of the hook. The rubber legs should be 2 times the length of the hook gap, slightly longer than the hackle fibers.

Fly Tying Step 6 – add 3 rubber legs to underside of hook shank
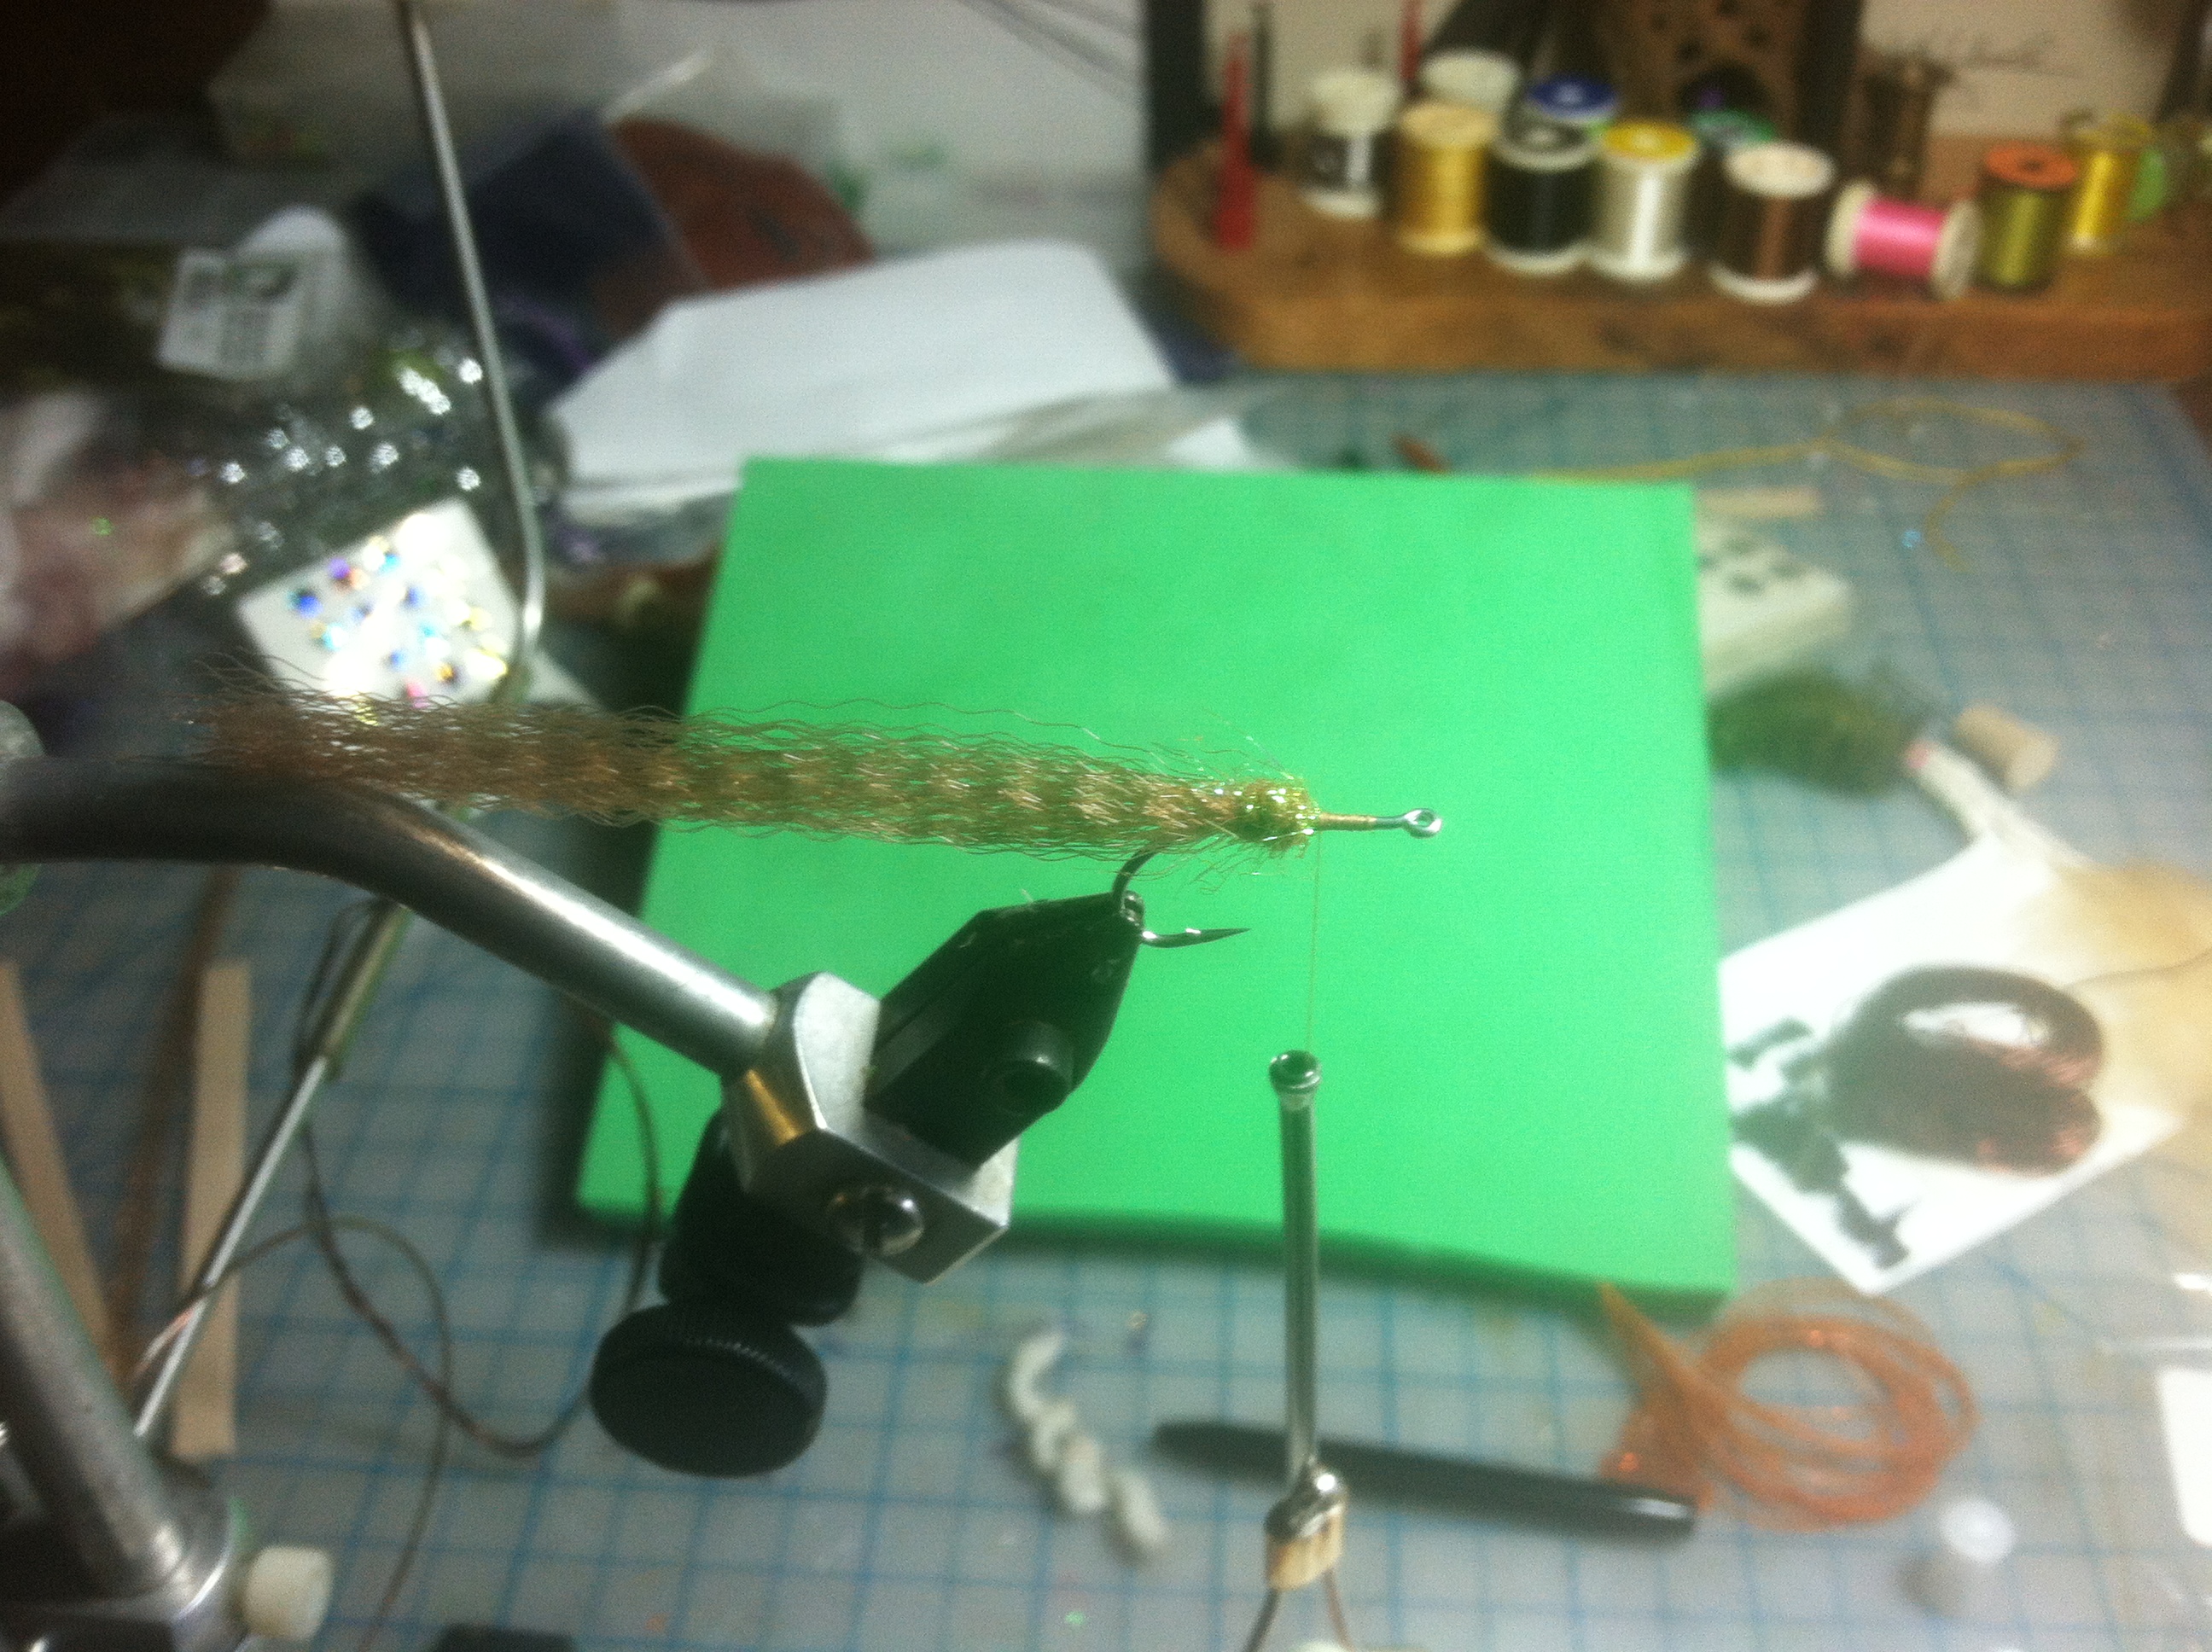
Step 7: Apply more dubbing behind, in between, and in front of legs.
Fly Tying Step 7 – dub behind, between and in front of legs
Step 8: Palmer hackle behind, in between, and in front of legs. Trim tips of hackle from top of the shank. Leave enough room behind the eye to secure the foam later shown in next step.
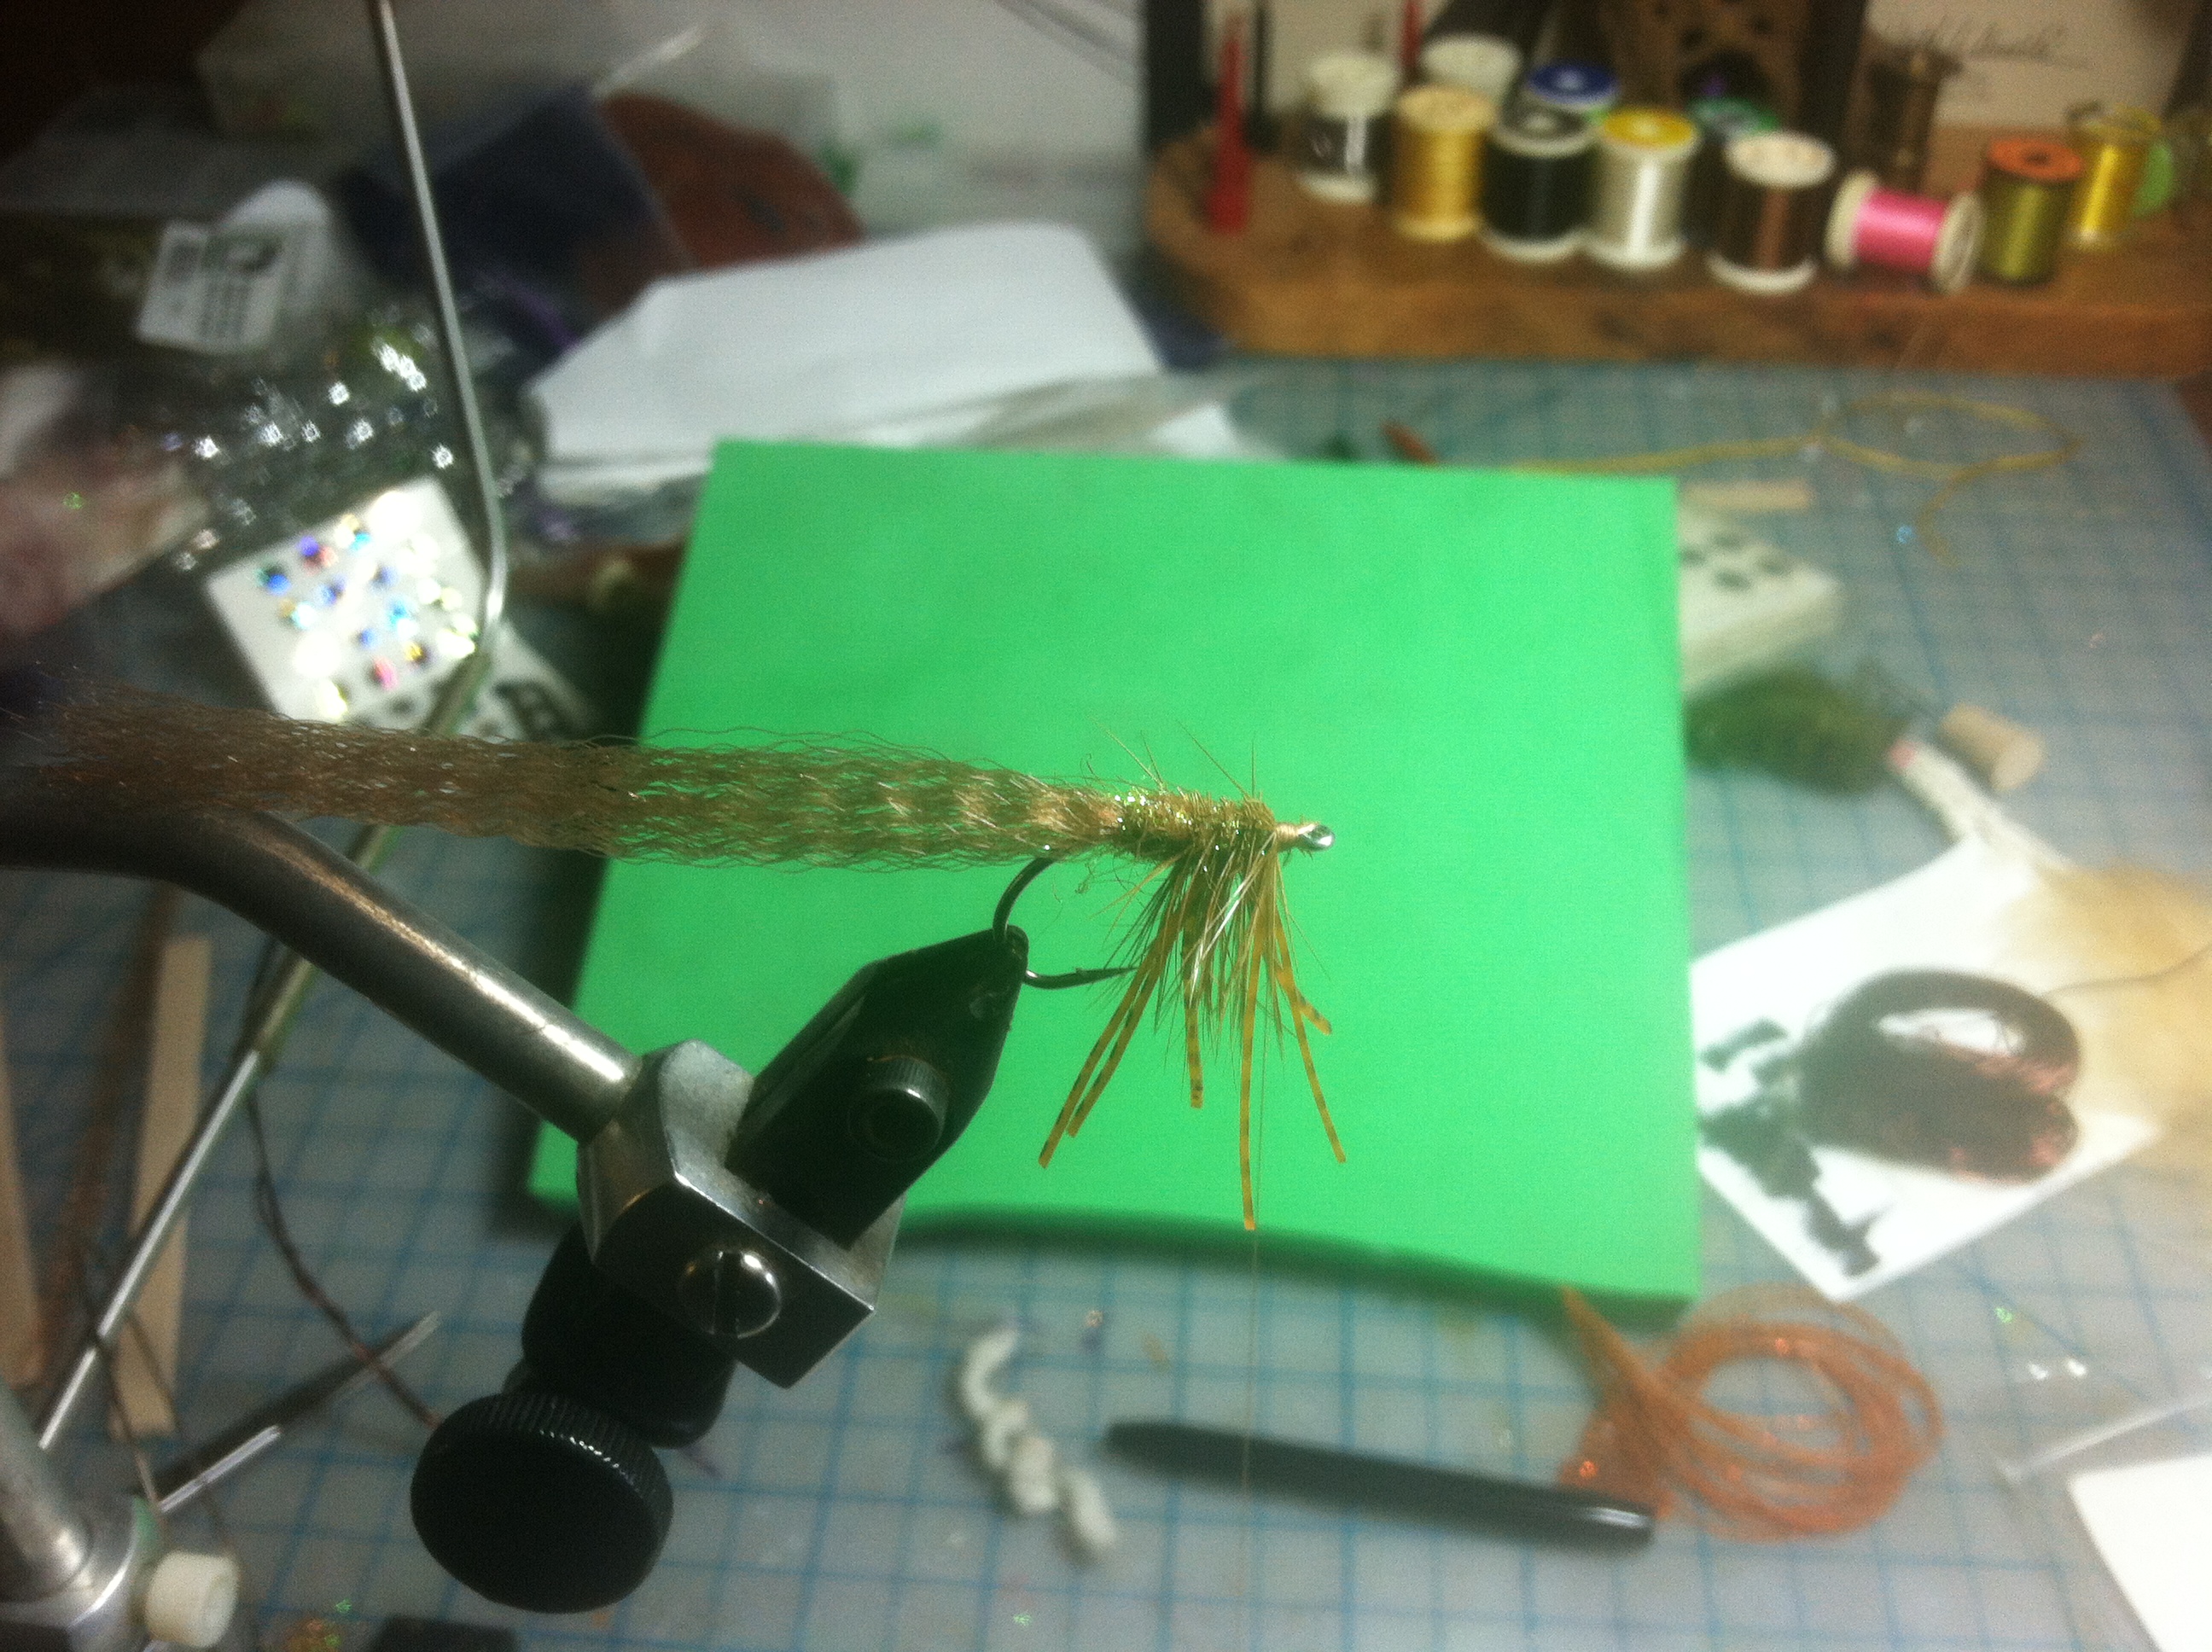
Fly Tying Step 8 – palmer hackle forward, behind, between and in front of legs
Step 9: Secure foam in front as shown in the picture.
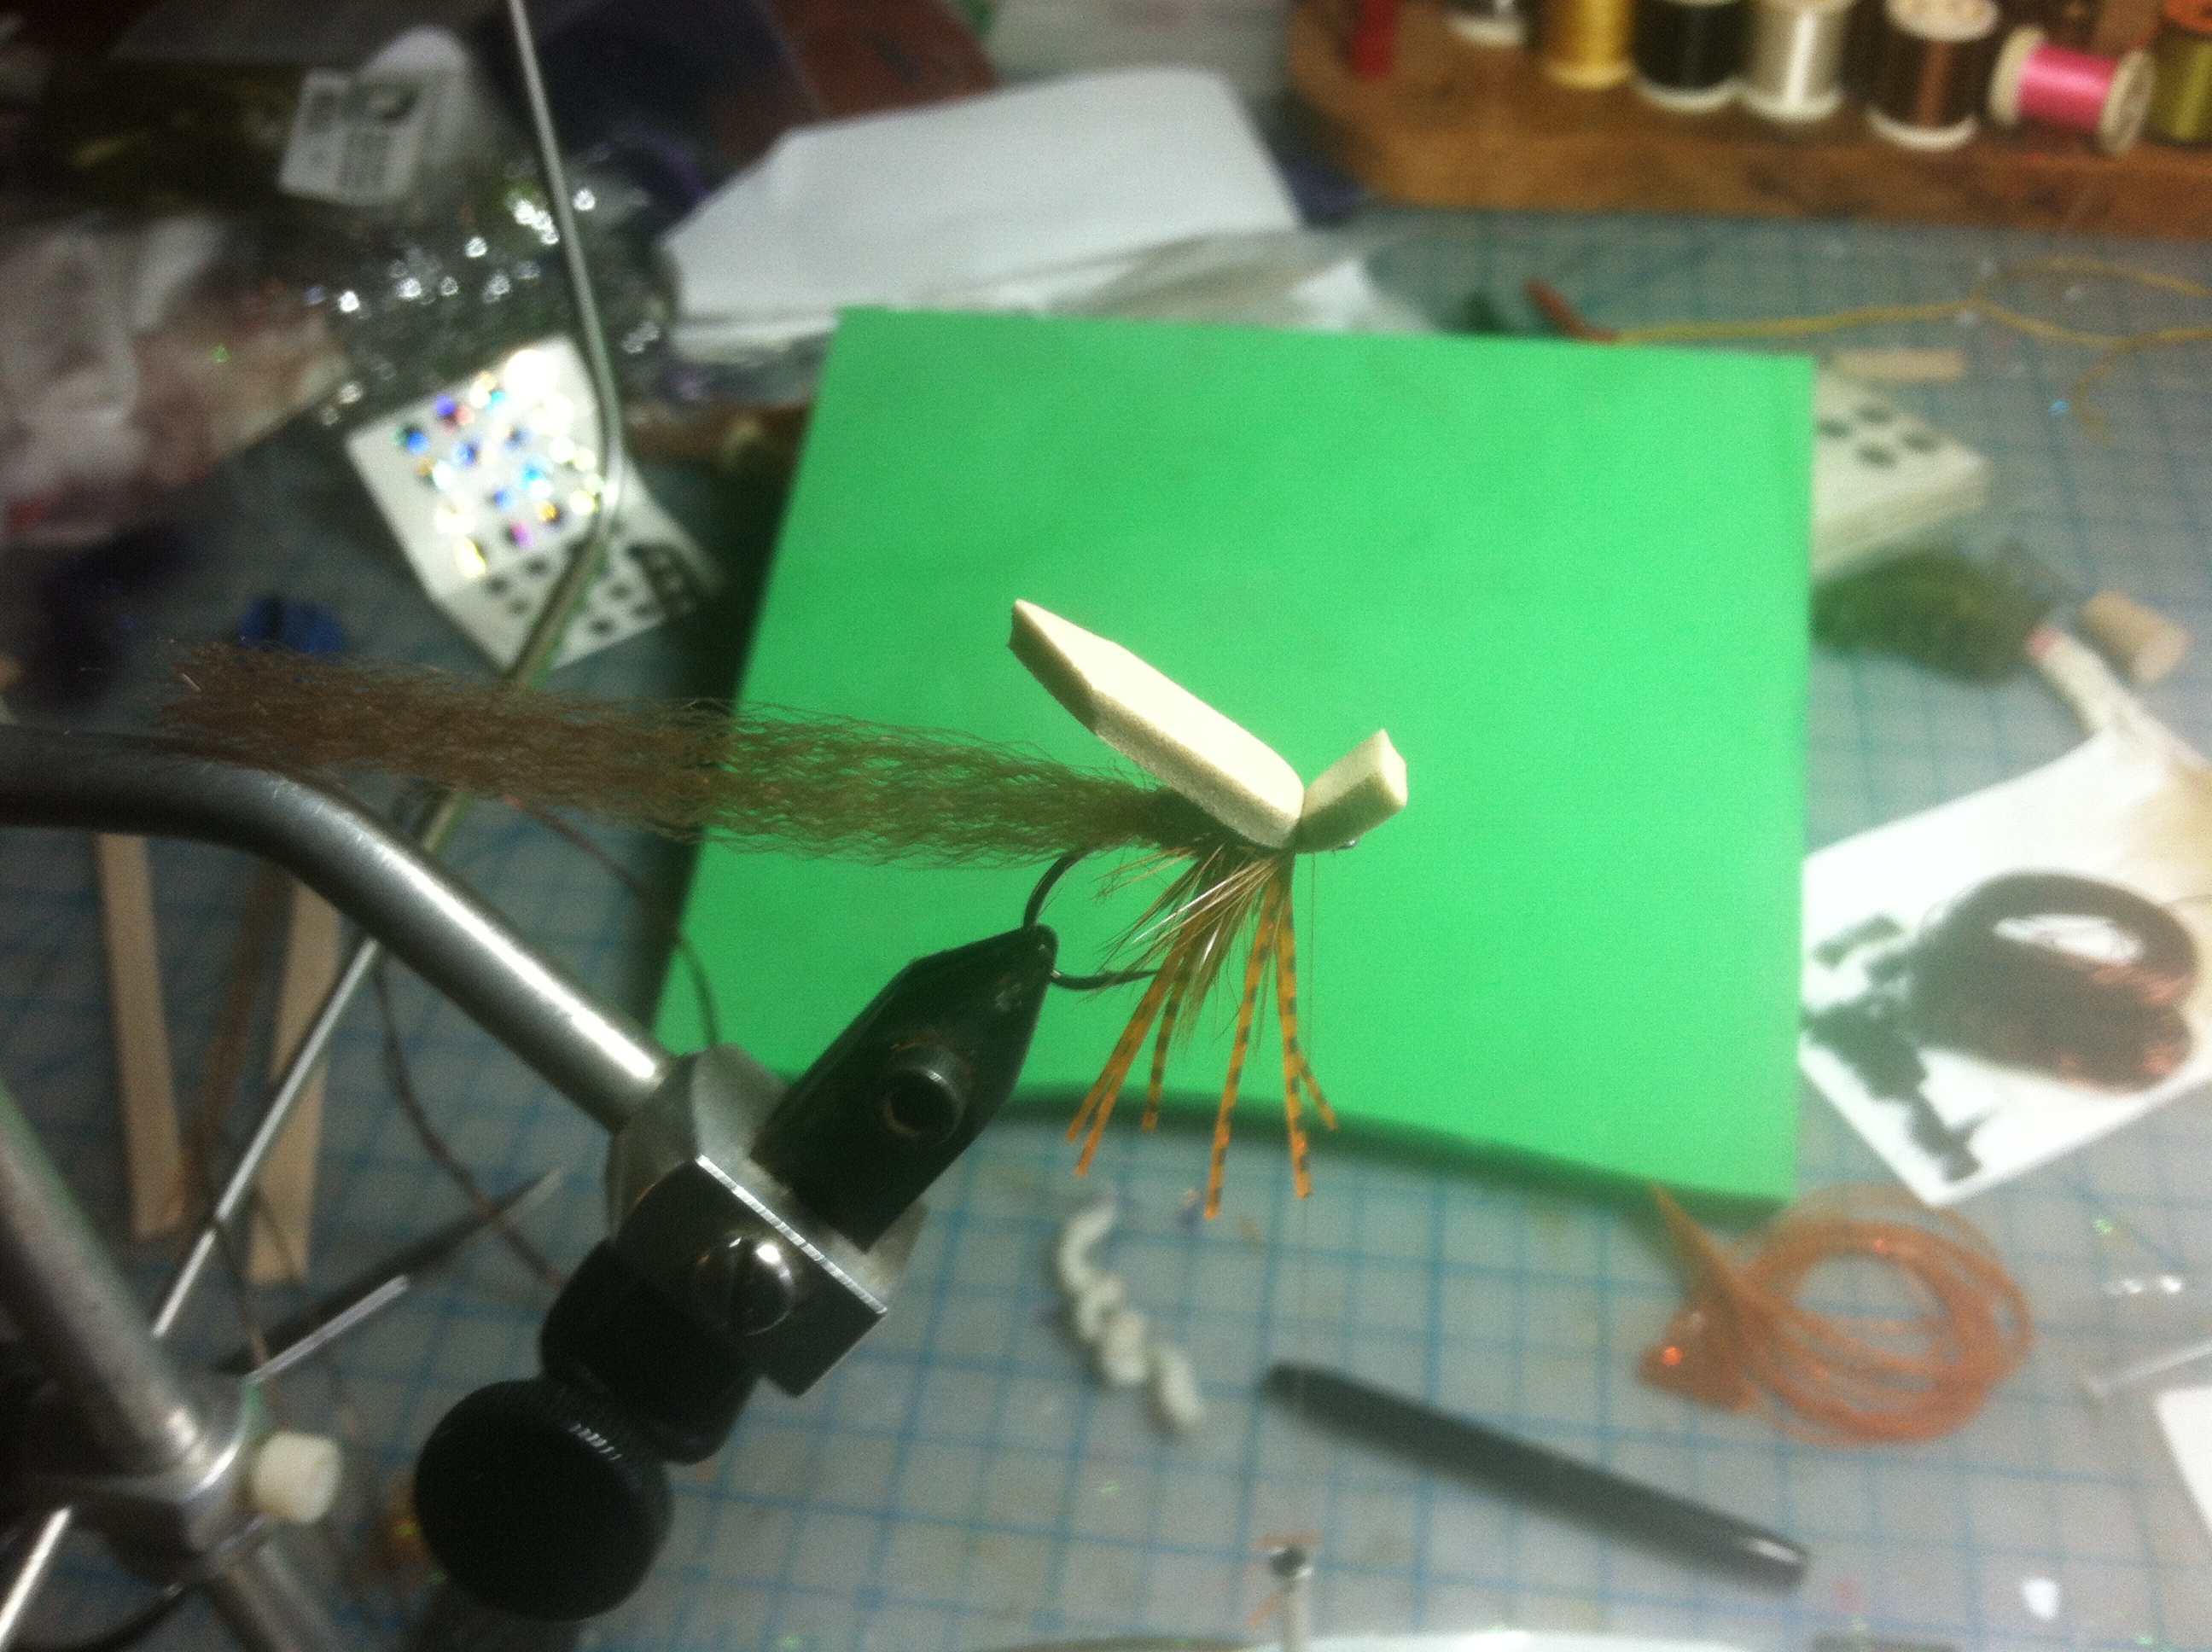
Fly Tying Step 9 – add foam, tie in front
Step 10: Secure foam in back as shown in the picture.
Fly Tying Step 10 – tie down foam in back
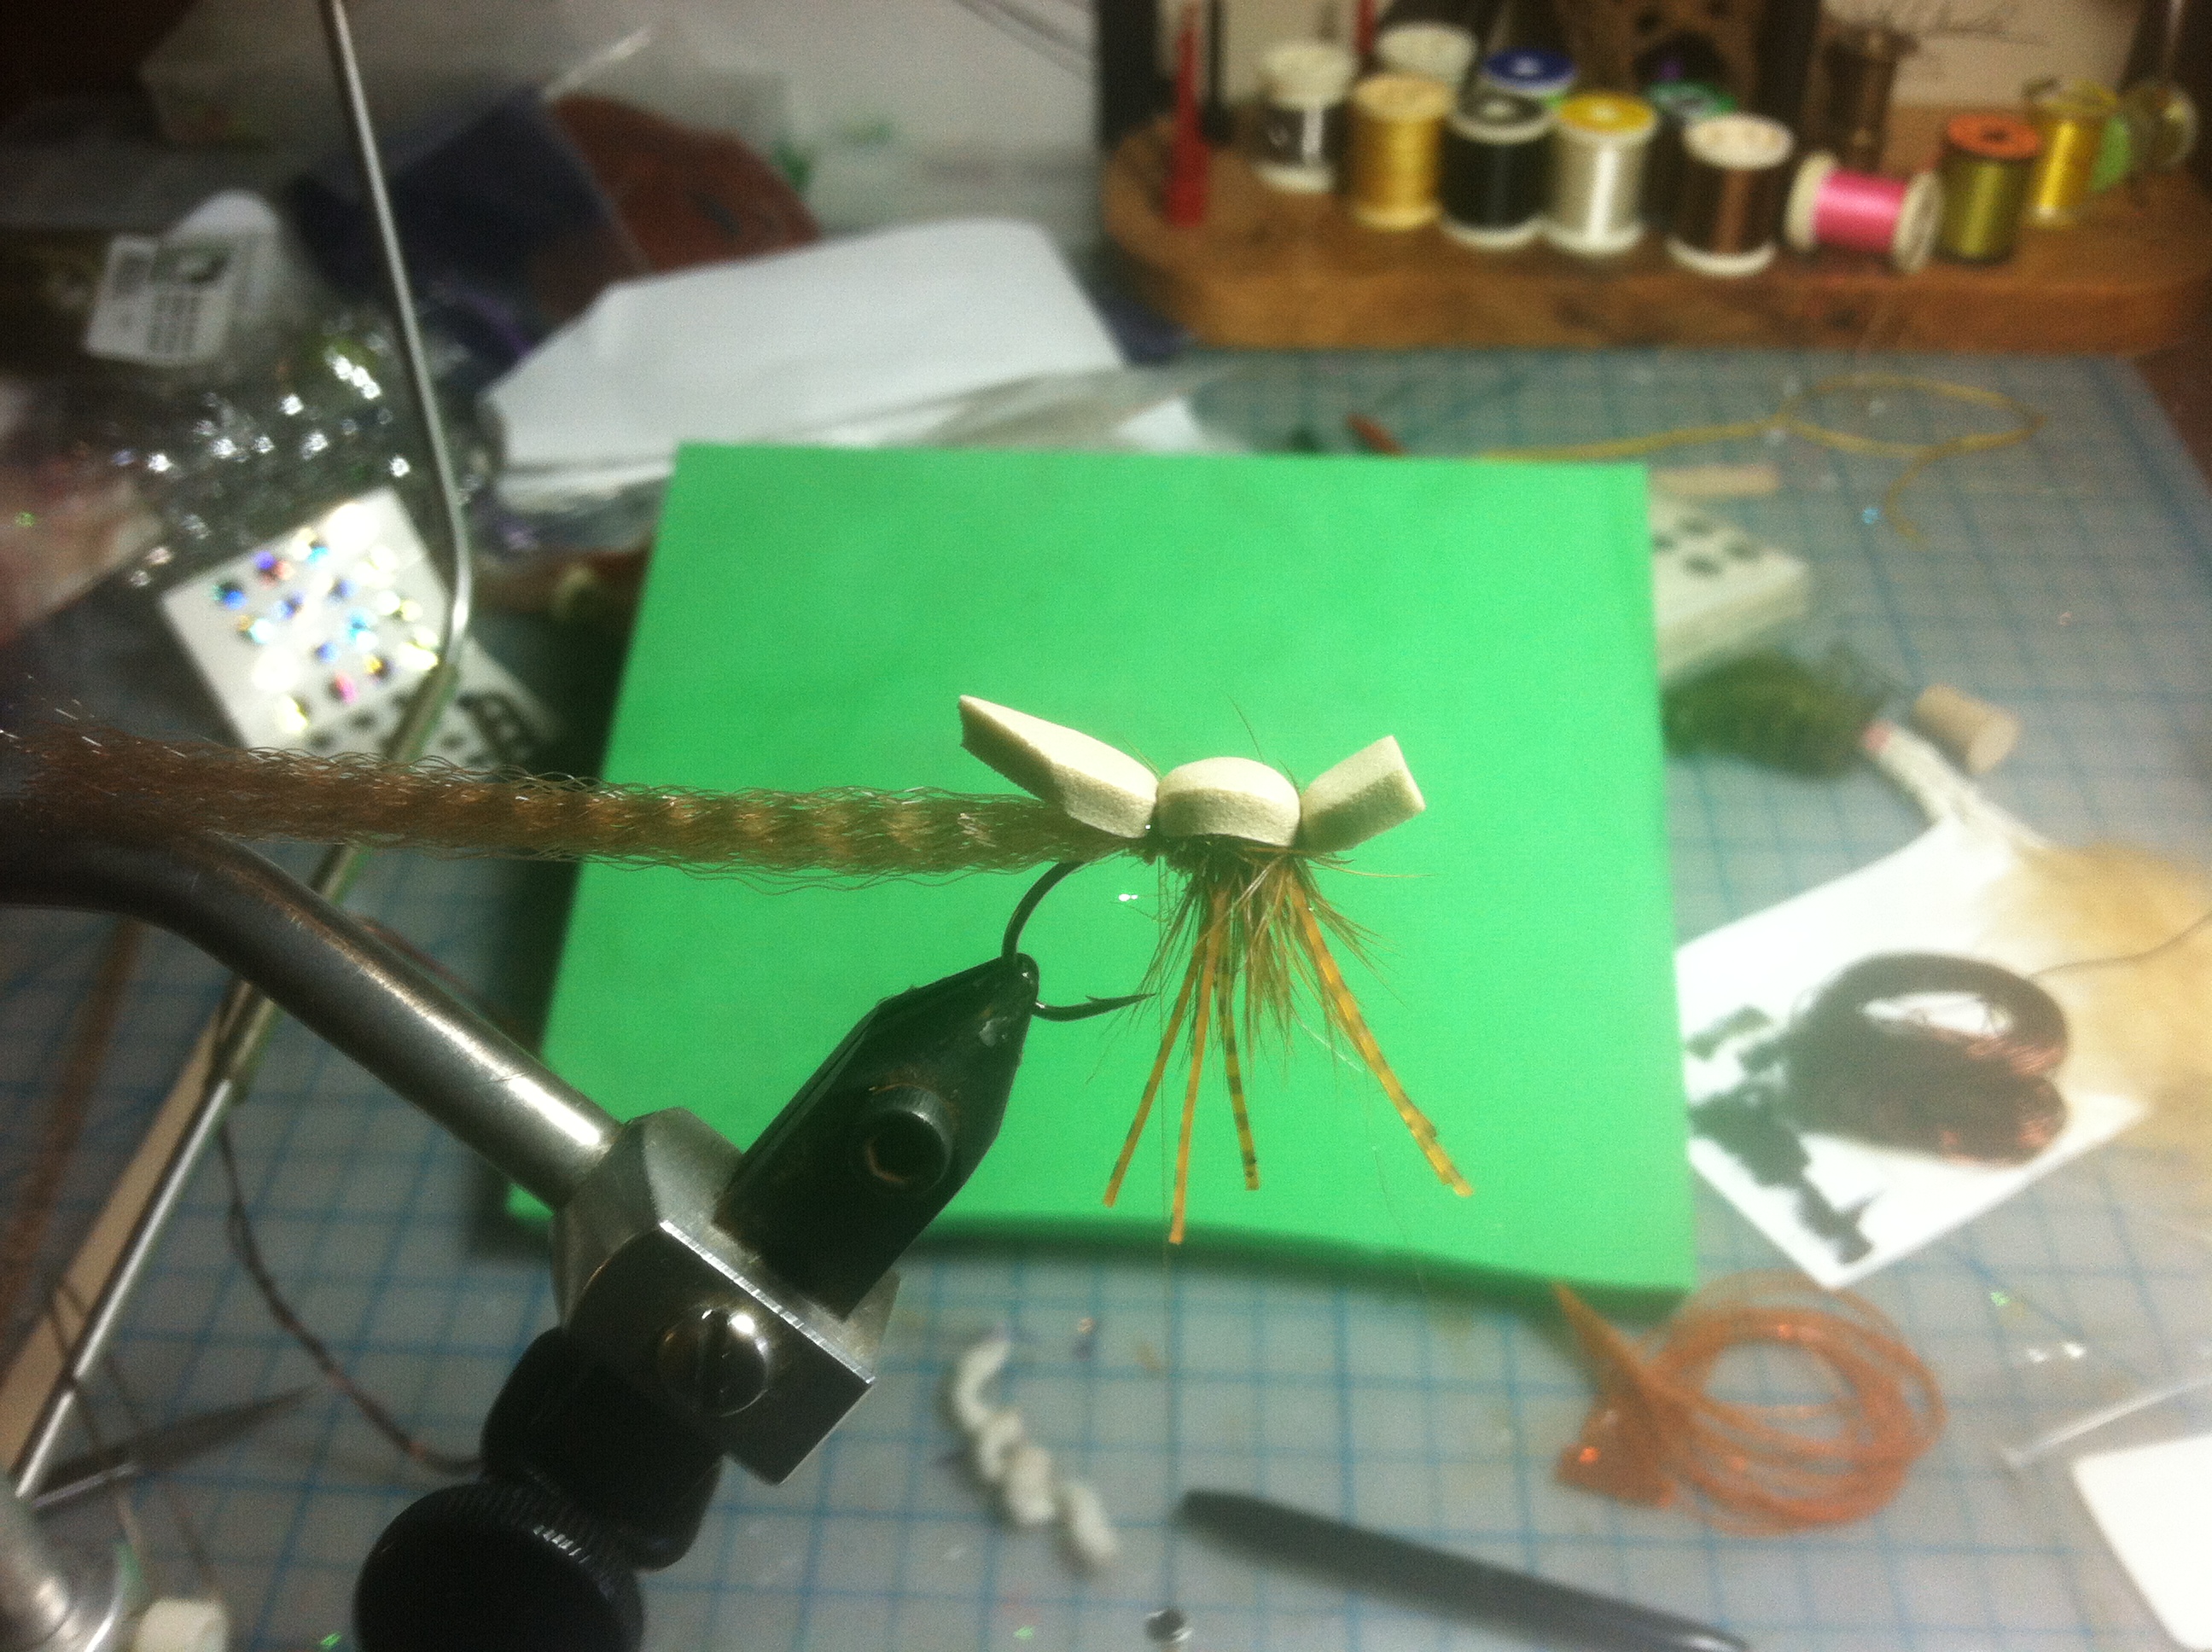
Step 11: Finally, apply 3 wraps of copper wire to tail to secure superhair. Use a small drop of glue to keep the wire from sliding off the end of the tail. A small drop can also be applied to both tie in points on the foam. I prefer using softex or similar so that the superhair and foam doesn’t turn white when it dries.
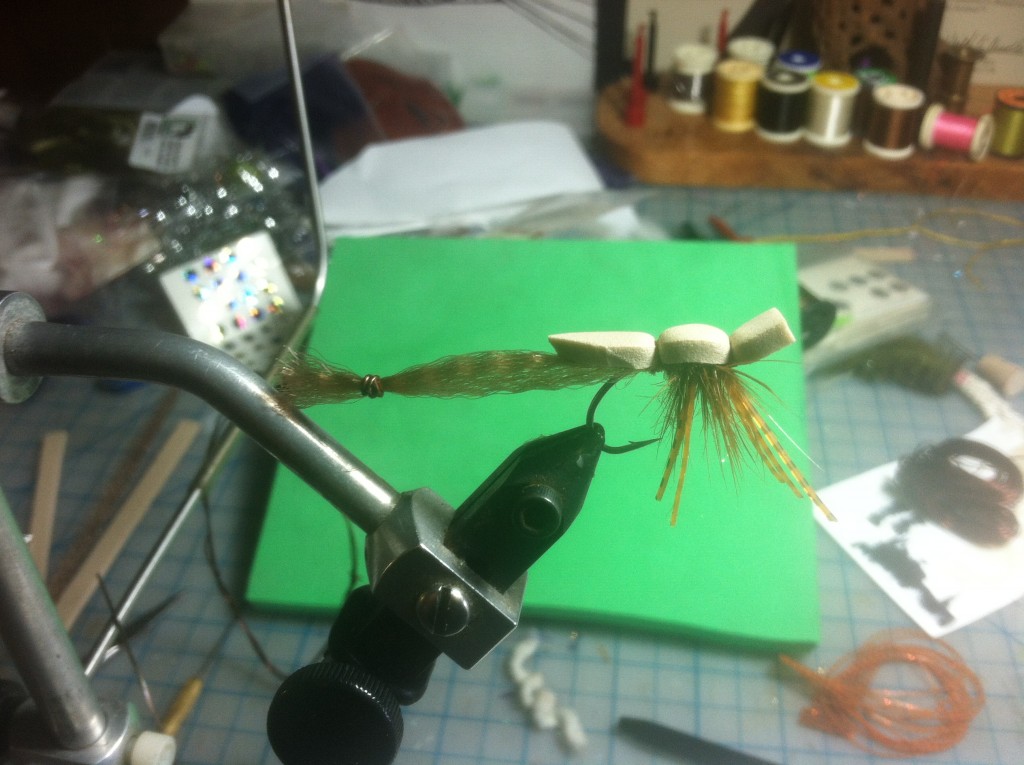
Fly Tying Step 11 – add 3 wraps of copper wire
TIP: I do use a smidgeon of zap-a-gap (it dries fast and bonds with EVA foam well. Apply a small amount on the underside of the back of the foam (pointy end) and press against the superhair tail while holding straight.
This serves two purposes; 1. to keep the superhair from fouling around the hook bend when casting and popping, and 2. it keeps the foam flat across the back because it wants to stick up when the thread is used to secure the foam to the shank of the hook.
Remember to keep your hooks sharp! -Captain Ken Jones
